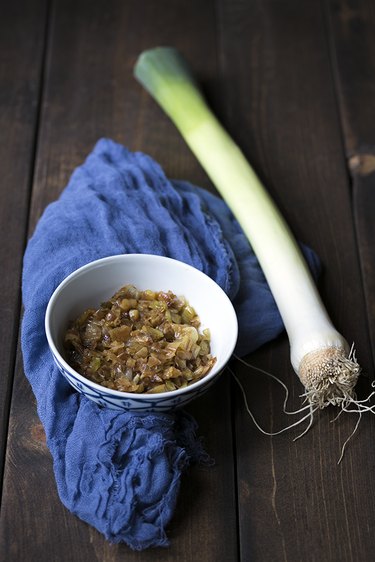
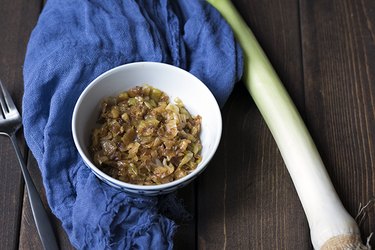
A close relative of onions and garlic, leeks have a mild flavor that is a wonderful addition to a variety of savory dishes. There are many ways to prepare them, but caramelization is an easy, healthy way to add tons of flavor. The preparation steps are very similar to how you would cook caramelized onions, but leeks require a bit of cleaning and care first.
Video of the Day
Things You\’ll Need
-
Leeks
-
Extra virgin olive oil
-
Kosher salt
-
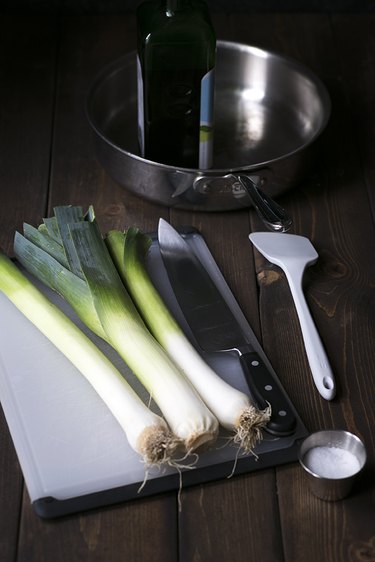
Cutting board
-
Chef's knife
-
Large nonstick skillet
-
Spatula
-
Small cup of water for deglazing
Tip
When you caramelize vegetables, all of the water is released which causes them to reduce in size quite a bit. Because the leeks will reduce and the dark green tops will be discarded (more about that in Step 2), you will want to start with a decent quantity. Assume that a medium-sized leek will yield approximately 1/4 cup.
Step 1: Gather Your Ingredients and Tools
A large non-stick skillet is required for caramelizing, because it's very difficult to properly caramelize in a nonstick pan (among other reasons, you cannot see the glaze forming. More on glazing below). While a standard skillet will work, a flat-sided skillet (also known as a sautoir) is an excellent option for caramelizing because it can hold a larger quantity of leeks without them spilling over the sides.
Step 2: Remove the Root and Dark Green Section of the Leeks
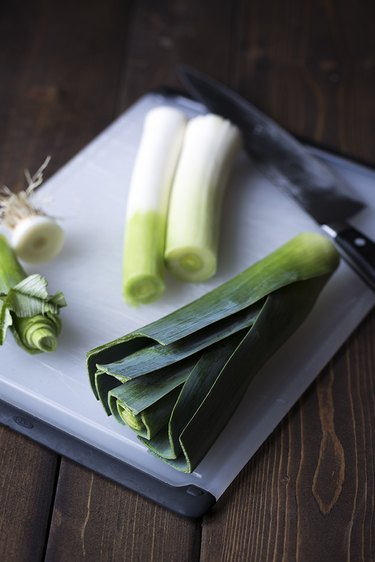
The dark green tops are very tough and fibrous, so you want to remove them before cooking. They're a great addition to homemade stocks, but aside from that, it's best to discard them. Slice off and discard the root tips as well. All that should remain are the white and pale green portions of the leeks.
Step 3: Slice in Half and Wash
Carefully slice the leeks in half, and then rinse each half thoroughly. Try to get the water in between each layer a bit where grit can hide, but do this without breaking the sections apart if possible. It will make the next step easier. Pat dry with paper towels.
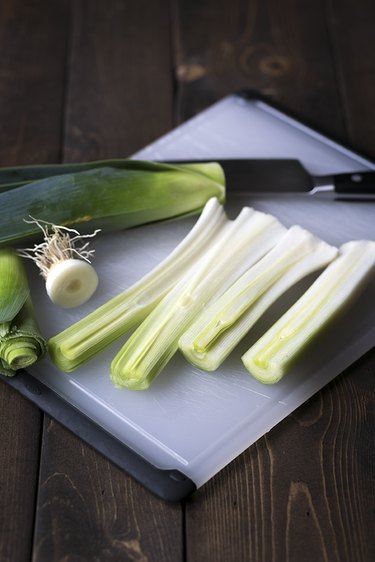
Step 4: Slice Thin
Place the leeks flat-side down and slice into half moons.
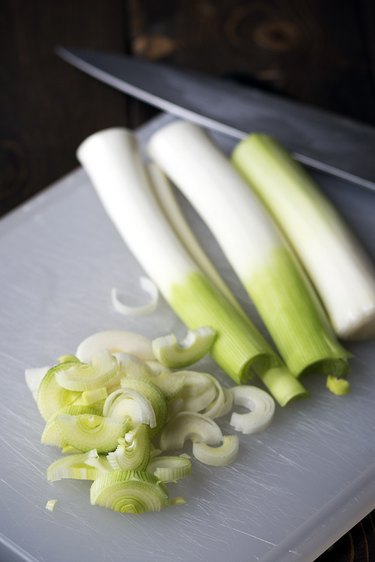
Step 5: Begin Sweating the Leeks Over Low Heat
Place the skillet over low heat and add a thin layer of olive oil, just enough to lightly coat the bottom of the pan (approximately ½ to 1 tablespoon). Keep a small cup of water nearby. Add the leeks along with a sprinkle of kosher salt. The salt will help draw the water out of the leeks, which will help with proper caramelization.
The process can continue in one of two ways from this point forward: slowly on low heat (which will result in the most even caramelization), or at a slightly faster pace on medium-low heat. The low and slow method requires less attention, and is a great option if you're simultaneously preparing other components of a meal.
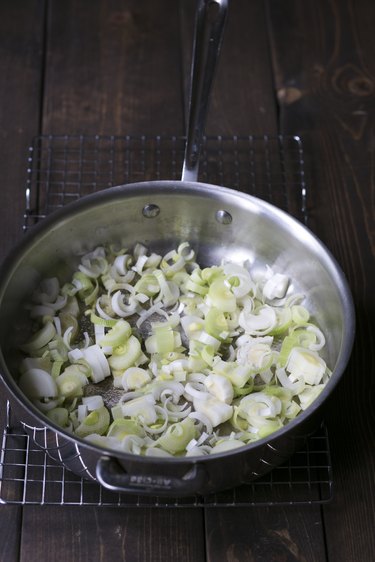
Step 6: Glaze and Deglaze
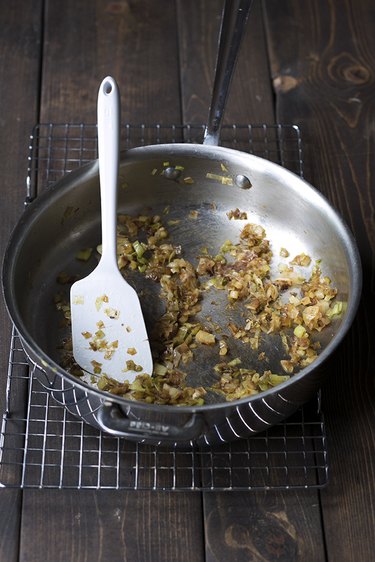
Stir periodically, but mostly allow the leeks to sit and gently cook. Over the next 20 to 40 minutes (the time will vary depending on the quantity of leeks being caramelized as well as the temperature level), a brown glaze will periodically form on the bottom of the pan. Once there is a nice brown coating, pour a bit of water (1 to 3 tablespoons) into the pan and use the spatula to scrape up the glaze and incorporate it back into the leeks. The less you stir the leeks, the faster the glaze will reappear.
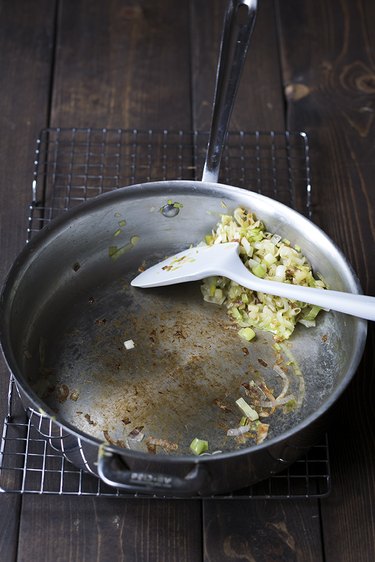
Step 7: Repeat Until Desired Caramelization is Reached
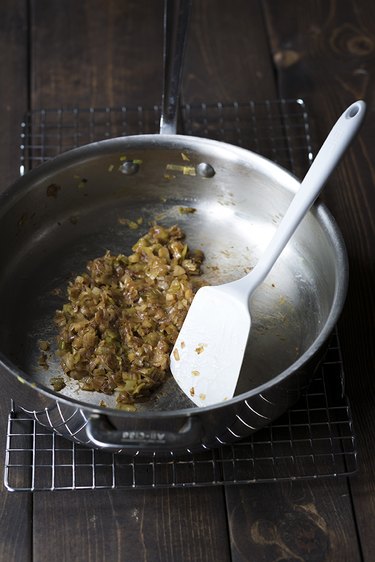
Caramelized leeks and onions are actually very similar to sweet caramels. Lighter colored caramels are sweeter, while darker caramels are more bitter. The best caramel flavor finds a perfect balance between sweetness and bitterness. If you've ever tasted a French onion soup that seemed overly sweet, it's because the onions were not caramelized for a long enough time. It's difficult to over-caramelize leeks, aside from burning them.
Step 8: Remove From the Heat and Serve
Caramelized leeks can be used immediately, or stored in the refrigerator for several days. They can also be frozen for up to 3 months.
Tip
Try adding caramelized leeks to your favorite pastas, pizzas or sandwiches!
